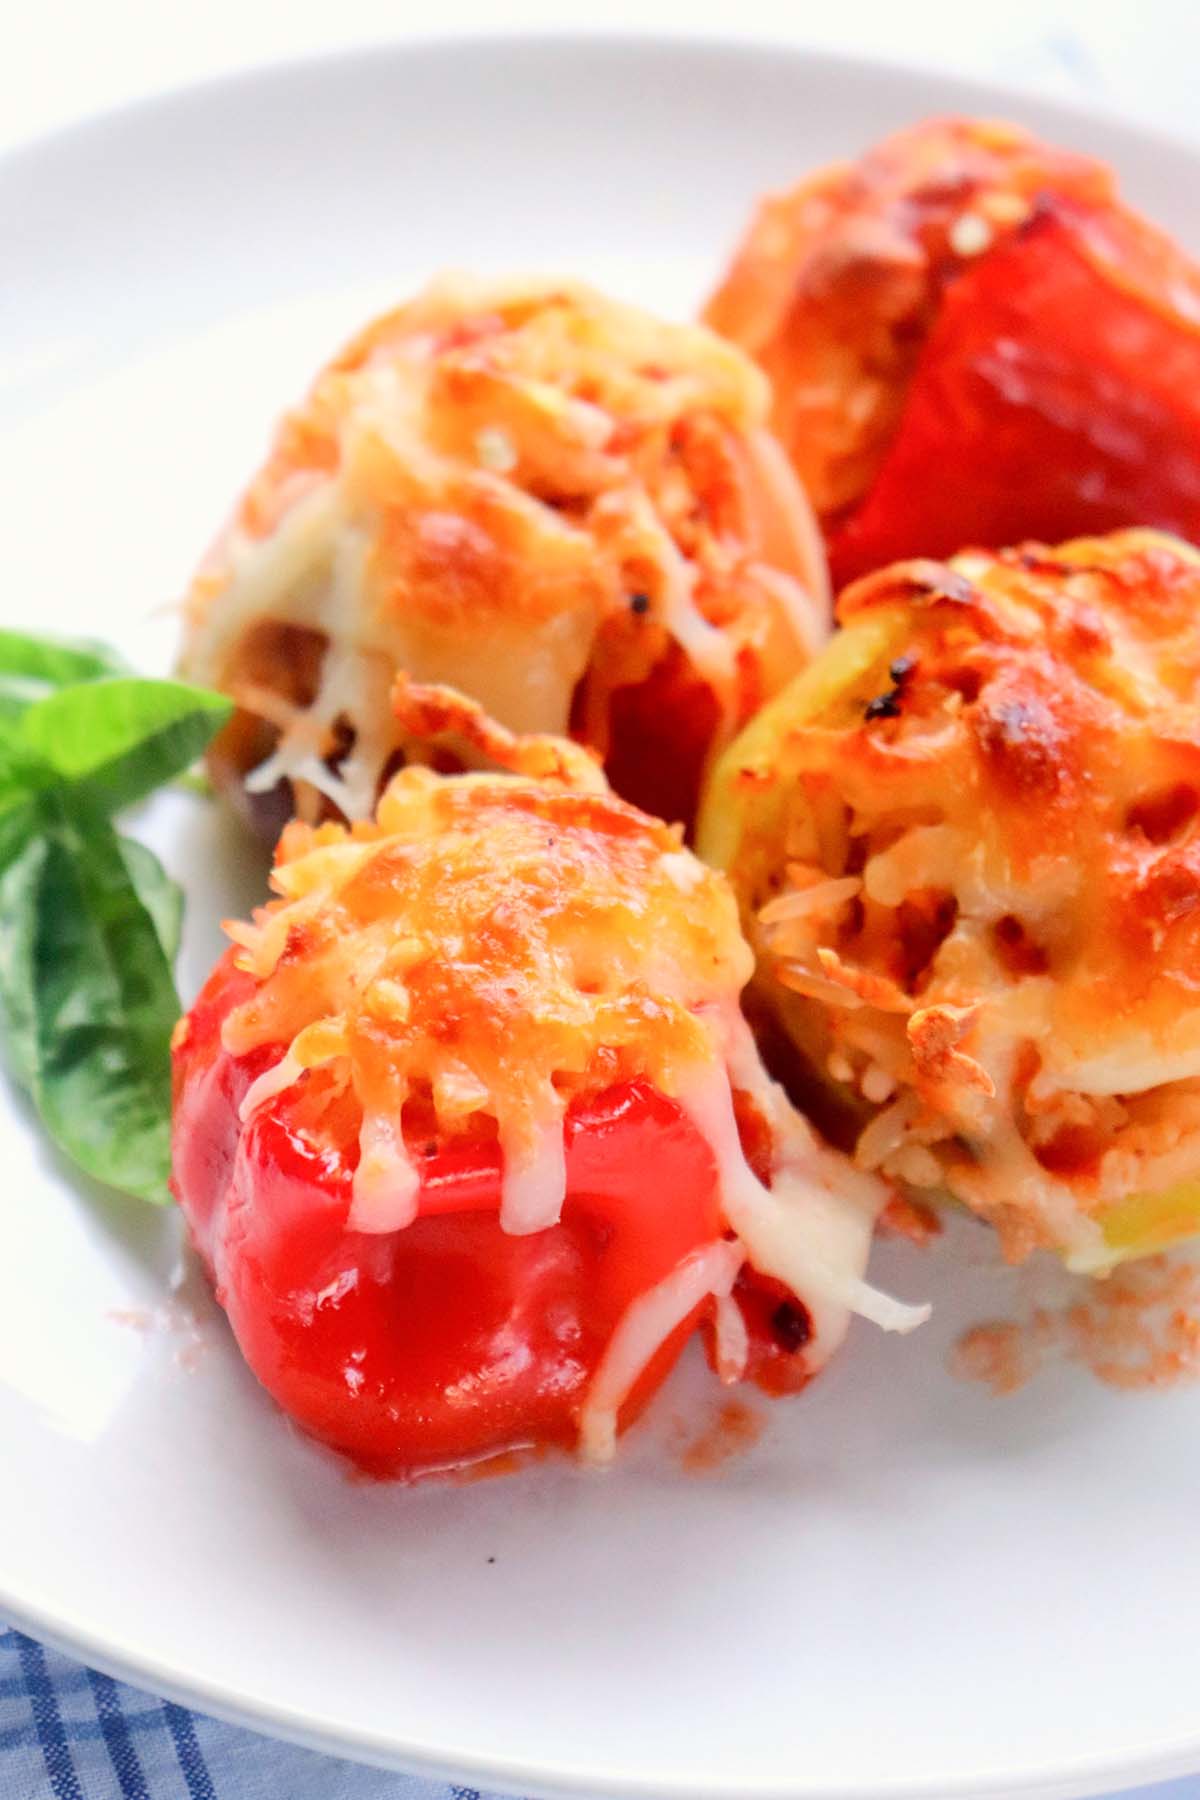
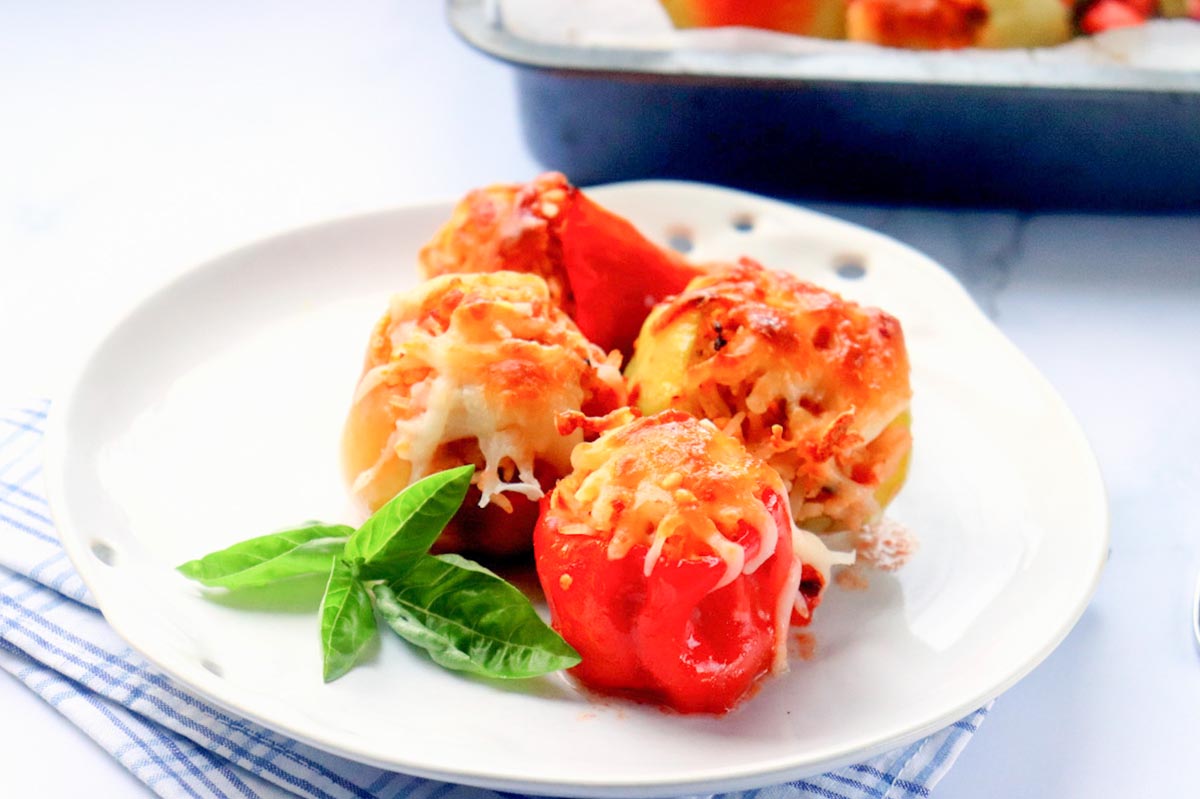
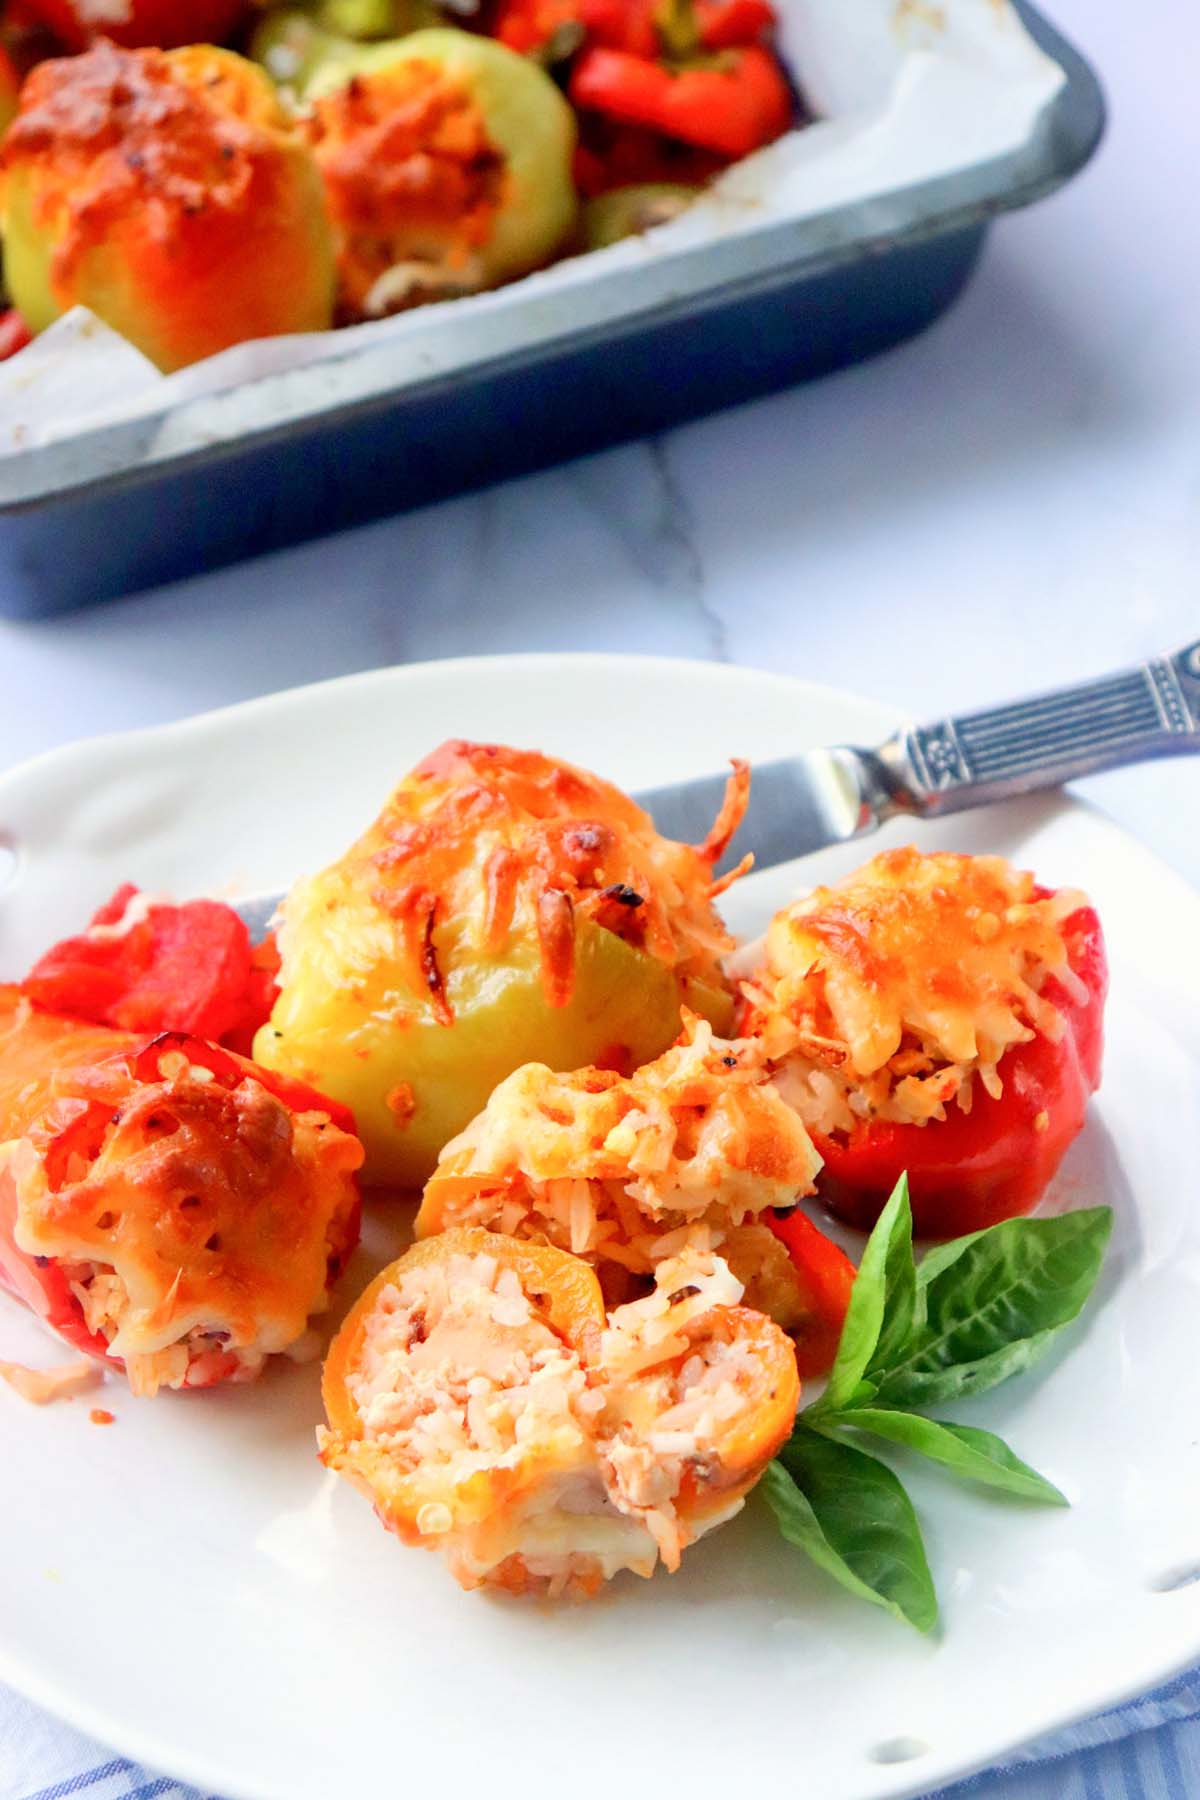
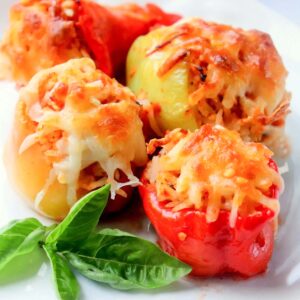
Italian Style Stuffed Peppers is a classic dish that is often served as a main course or as a side dish. The dish consists of bell peppers that are halved and seeded, and then filled with a mixture of ground chicken and a blend of Italian herbs and spices.
Jump to:
Love these stuffed peppers? Try my Low Calorie Red Pepper and Tomato Soup and my Instant Pot Stuffed Pepper Soup for more great pepper recipes!
Italian style stuffed peppers are a delicious and hearty dish that combines the sweetness of bell peppers with a variety of savory Italian flavors. They are typically made by stuffing the peppers with a mixture of ground meat, along with herbs, spices, and cheese. The stuffed peppers are then baked in the oven until the peppers are tender and the filling is cooked through.
They can be served as a main dish or as a side dish and can be paired with a variety of different sauces, such as marinara or a creamy Alfredo. This dish is a perfect balance of sweet and savory flavors, with the bell peppers providing a natural sweetness and the meat and spices providing a rich and complex flavor.
Can You Freeze Stuffed Peppers?
Yes, you can freeze stuffed peppers. Freezing stuffed peppers is a convenient way to preserve them for later use. Here's how you can freeze them:
- Prepare the stuffed peppers according to the recipe.
- Allow the them to cool completely before freezing.
- Choose an airtight container or freezer bag for freezing.
- Place them in the container, leaving some headspace for expansion during freezing. If using freezer bags, squeeze out any excess air before sealing.
- Label the container with the date and contents, so you can easily identify them later.
- Put them in the freezer and make sure they are placed in a single layer to freeze evenly and quickly. Once they are fully frozen, you can rearrange them if needed.
- Stuffed peppers can typically be stored in the freezer for up to 2-3 months. Beyond that, they may start to lose quality and flavor.
Why You'll Love This Recipe
- The combination of sweet bell peppers, savory meat, and a blend of Italian herbs and spices creates a delicious and well-balanced taste.
- You can experiment with different meats, such as ground beef or pork, or add in other ingredients like breadcrumbs, rice, or vegetables to make it your own.
- The peppers provide a good source of vitamins and minerals, while the meat and other ingredients provide protein, carbohydrates, and other essential nutrients.
- It can be prepared in advance, and then baked in the oven when your guests arrive.
- It's a great way to enjoy a comforting and classic Italian dish, without having to go out to a restaurant. It’s easy to make, and the ingredients are widely available and affordable.
Ingredients You'll Need
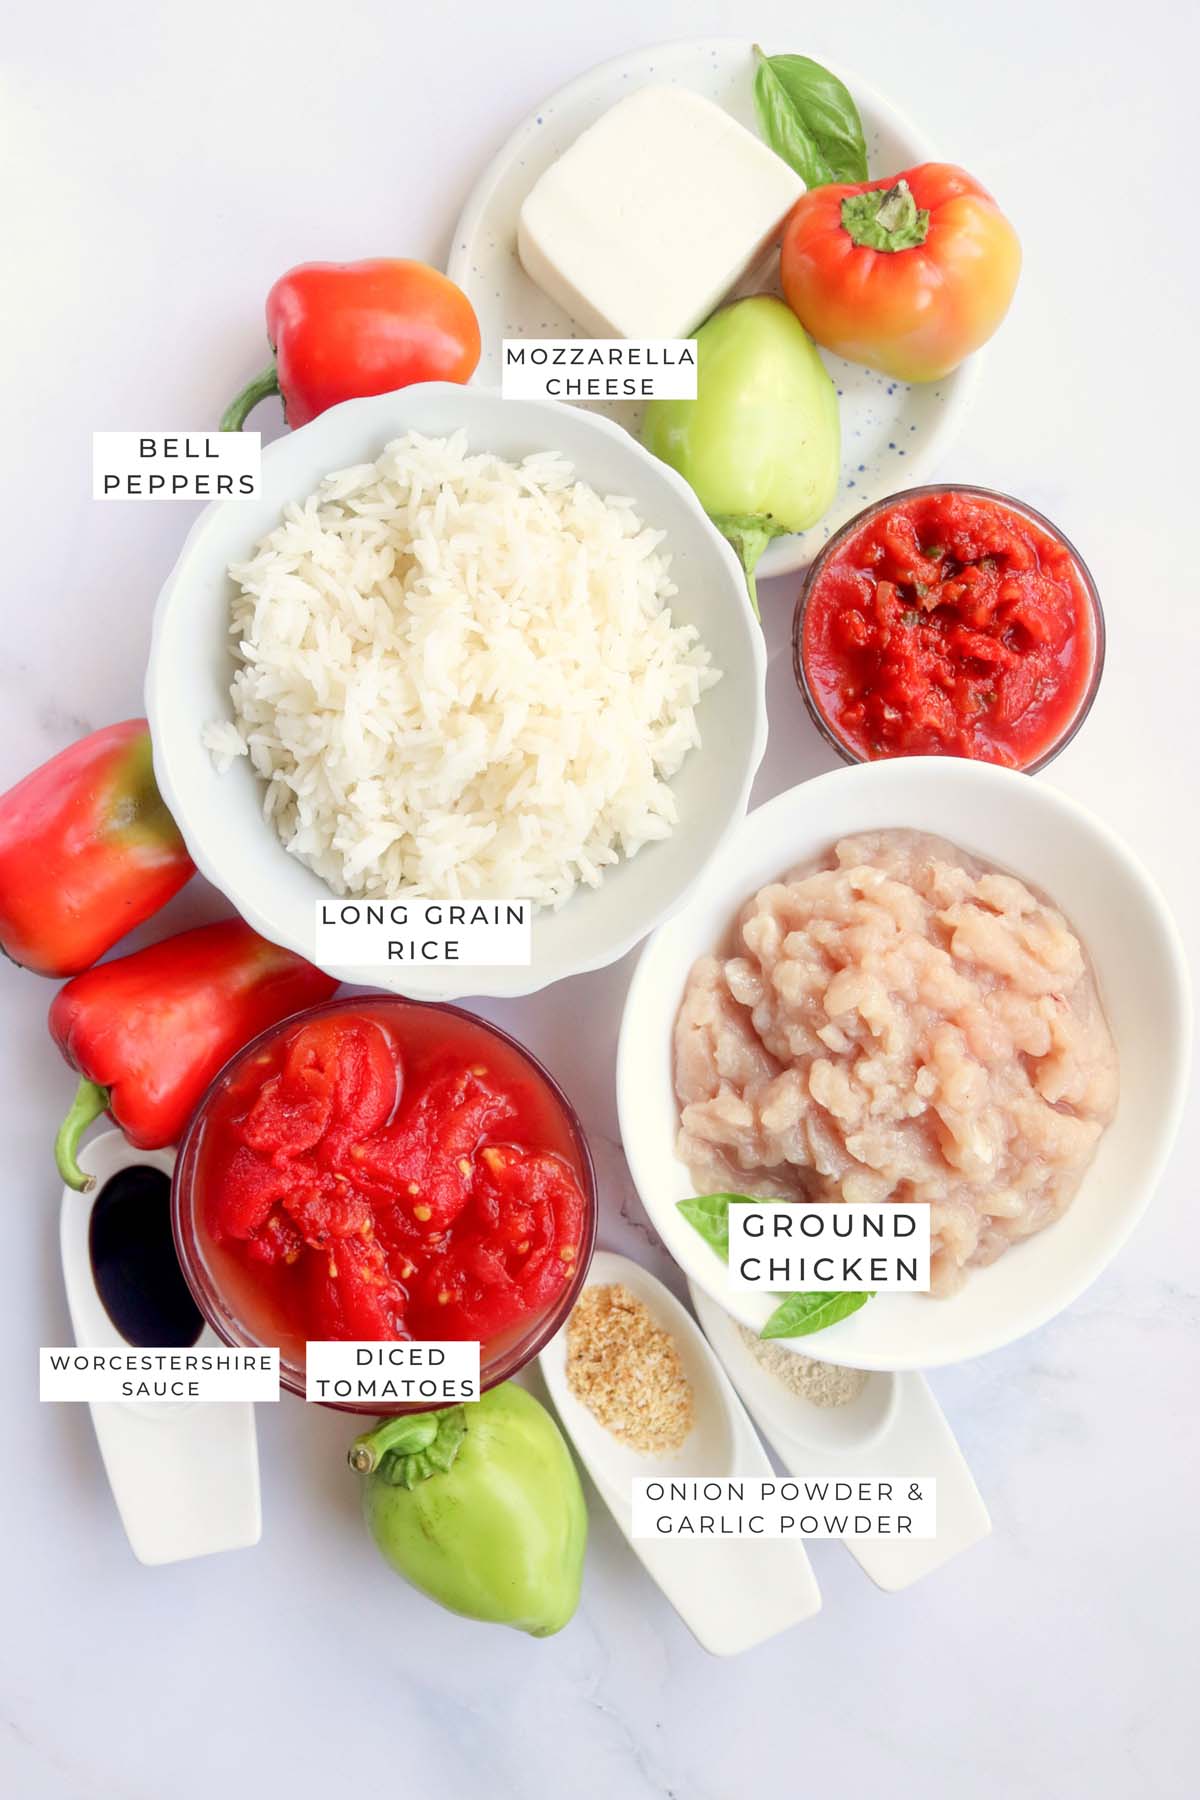
- Bell Peppers: The peppers are the base of the dish, they are hollowed out and stuffed with the filling. They come in different colors like green, red, yellow and orange.
- Ground Chicken: A lean protein that is used as the main filling for the peppers. It can be substituted with ground beef or pork if desired.
- Diced Tomatoes: Adds a nice acidic flavor to the dish and provide a good source of lycopene, an antioxidant.
- Garlic Powder, Onion Powder, Salt & Pepper: These seasonings give the dish a lot of flavor and depth. They add a nice savory flavor to the dish.
- Italian Seasoning: A blend of herbs like oregano, basil, rosemary and thyme, that provide a classic Italian flavor to the dish.
- Tomato Sauce & Worcestershire Sauce: These ingredients add a nice tangy flavor to the dish, and provide a nice balance to the sweetness of the bell peppers.
- Long Grain Rice: Used as a filler to bulk up the filling and make it more satisfying.
- Mozzarella Cheese: Used as a topping on the stuffed peppers and it provides a nice creamy texture and a delicious flavor.
Step-By-Step Instructions
Step 1: Preheat oven to 350 ℉. Spray baking dish with nonstick cooking spray.
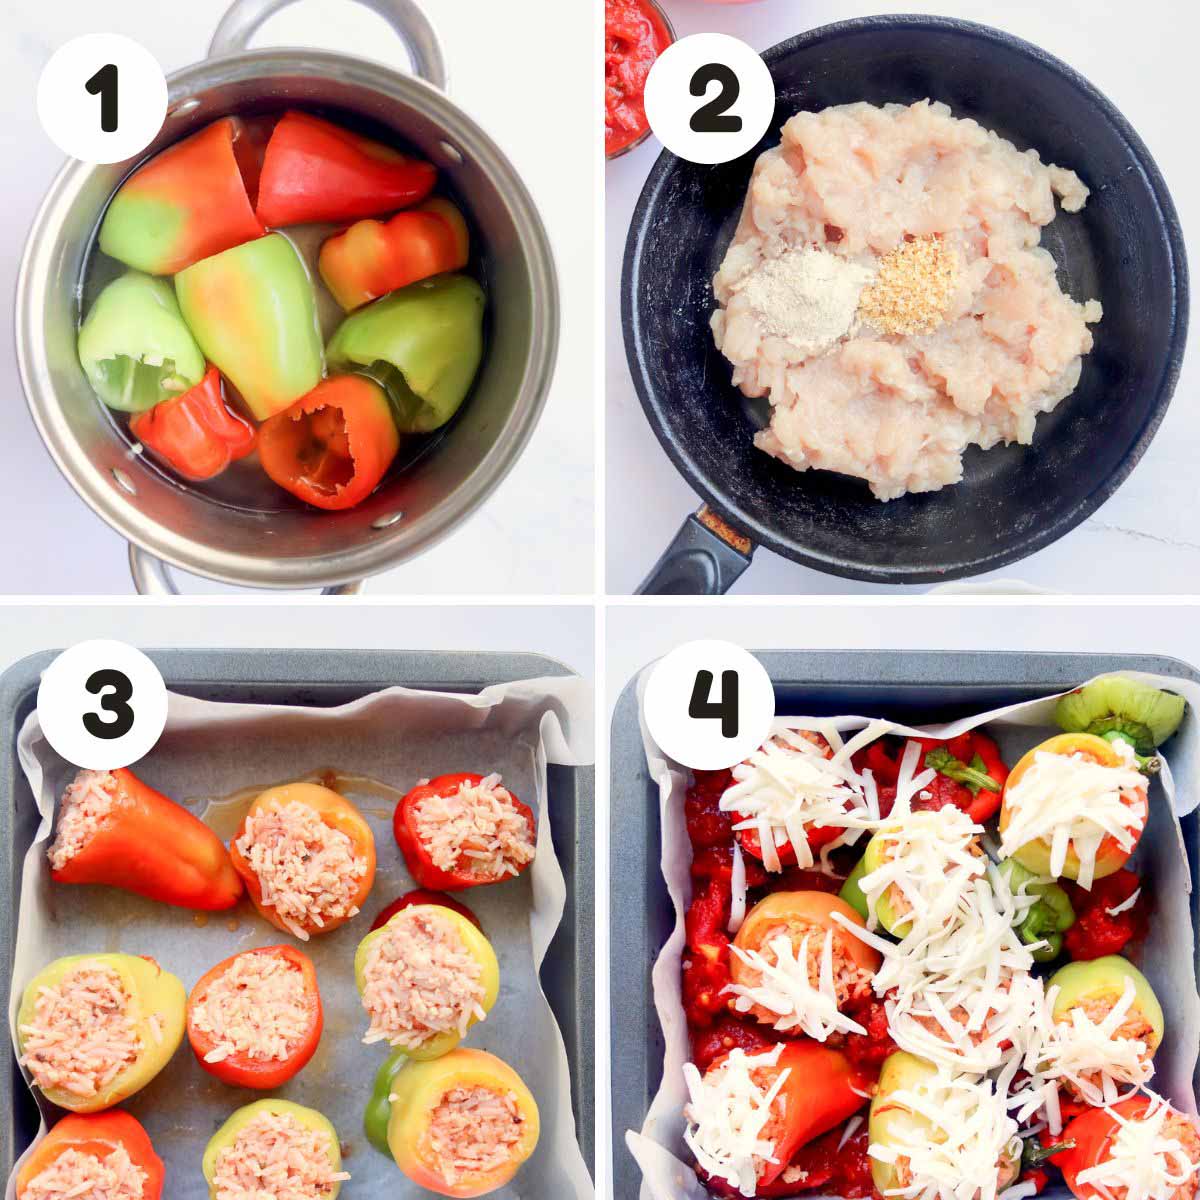
Step 2: Cut the tops off the bell peppers and remove the seeds and membranes. Then parboil them. To parboil the peppers, bring a large pot of water to a boil. Add peppers to the boiling water and cook until barely tender, about 5 minutes. Remove peppers from boiling water and arrange in baking dish with the hollowed sides facing upward.
Step 3: In a large skillet, brown the ground chicken over medium heat. Drain off any excess fat.
Step 4: Add diced tomatoes, garlic powder, onion powder, salt, pepper, Italian seasoning, tomato sauce, and Worcestershire sauce to the skillet. Bring the mixture to a simmer and let cook for 5 minutes.
Step 5: Stir in the cooked rice into the skillet and mix well.
Step 6: Stuff the bell peppers with the chicken mixture and place them in a baking dish.
Step 7: Pour a small amount of water into the bottom of the baking dish, to prevent the peppers from drying out.
Step 8: Cover the dish with foil and bake for 45-50 minutes, or until the peppers are tender.
Step 9: Remove the foil from the dish, and top the peppers with shredded mozzarella cheese. Return the dish to the oven and bake for an additional 5-10 minutes, or until the cheese is melted and bubbly.
NOTE: You can print the FULL recipe with all ingredients & detailed instructions below!
Expert Tips
- Add some chopped onion or mushrooms to the filling mixture.
- If you like your stuffed peppers to have a little bit of crunch, only partially cook the bell peppers before stuffing them.
- Add some cooked quinoa, couscous or bulgur wheat to the filling.
- Add some ricotta cheese or cream cheese to the filling.
- Add some red pepper flakes or cayenne pepper to the filling.
- Make the dish gluten free, you can replace the Worcestershire sauce with a gluten free alternative, or use a gluten free grain like quinoa or millet instead of rice.
- You can also add some chopped parsley or basil as a garnish before serving for a fresh and flavorful touch.
Variations
- Meatless: Make a vegetarian version of this dish by using a meat substitute such as crumbled tofu or tempeh, or even lentils or chickpeas as the main filling.
- Cheesy: Add more cheese to the filling or even stuff the pepper with a small amount of fresh mozzarella cheese before adding the rice mixture.
- Mediterranean: Add some Mediterranean flavors to the dish by using ground lamb or pork instead of chicken, and adding some chopped fresh herbs like mint, oregano, and parsley to the filling.
- Spicy: Make the dish spicier by adding some diced chili pepper or hot sauce to the filling.
- Mexican: Make a Mexican-inspired version of this dish by using ground beef or pork as the filling, and adding some diced onion, garlic, cumin, and chili powder to the mixture. Top the peppers with shredded cheddar cheese before baking.
- Spanish: Make a Spanish-inspired version of this dish by using ground pork or chorizo as the filling, and adding some diced onion, garlic, smoked paprika, and saffron to the mixture. Top the peppers with manchego cheese before baking.
- Greek: Make a Greek-inspired version of this dish by using ground lamb or pork as the filling, and adding some diced onion, garlic, oregano, and feta cheese to the mixture.
Storing & Freezing
Storing: You can store peppers in an airtight container in the refrigerator for up to 3 days.
Freezing: To freeze the stuffed peppers, first let them cool completely. Then, place them in an airtight container or a resealable plastic bag. Make sure to squeeze out as much air as possible before sealing the bag. They can be frozen for up to 3 months.
Reheating: To reheat frozen peppers, take them out of the freezer and thaw them in the refrigerator overnight. Preheat the oven to 350 ℉, then place the peppers in a baking dish and cover with foil. Bake for 25-30 minutes or until heated through.
Recipe FAQ's
Yes, you can use ground beef, pork, turkey, or even lamb for the filling.
Yes, you can use different types of cheese such as cheddar, Monterey Jack, or even feta cheese for the filling or topping.
Yes, you can make the filling and stuff the peppers a day ahead of time and store it in the refrigerator. When you're ready to eat, just preheat the oven and bake the peppers for 25-30 minutes.
More Dinner Recipes You'll Love
Italian Style Stuffed Peppers
Special Equipment
Ingredients
- 6 bell peppers any color
- 1 pound ground chicken
- ¼ teaspoon garlic powder
- ¼ teaspoon onion powder
- ¼ teaspoon salt
- ¼ teaspoon ground black pepper
- 14.5 ounce can diced tomatoes
- 16 ounce can tomato sauce divided
- 1 tablespoon Italian seasoning
- 1 tablespoon Worcestershire sauce
- ½ cup cooked long grain rice leftover rice works great
- ¾ cup shredded mozzarella cheese
Instructions
- Preheat oven to 350°F. Spray baking dish with nonstick cooking spray.
- Cut the tops off the bell peppers and remove the seeds and membranes. Then parboil them. To parboil the peppers, bring a large pot of water to a boil. Add peppers to the boiling water and cook until barely tender, about 5 minutes. Remove peppers from boiling water and arrange in baking dish with the hollowed sides facing upward.
- In a large skillet, brown the ground chicken over medium heat. Drain off any excess fat.
- Add diced tomatoes, garlic powder, onion powder, salt, pepper, Italian seasoning, tomato sauce, and Worcestershire sauce to the skillet. Bring the mixture to a simmer and let cook for 5 minutes.
- Stir in the cooked rice into the skillet and mix well.
- Stuff the bell peppers with the chicken mixture and place them in a baking dish.
- Pour a small amount of water into the bottom of the baking dish, to prevent the peppers from drying out.
- Cover the dish with foil and bake for 45-50 minutes, or until the peppers are tender.
- Remove the foil from the dish, and top the peppers with shredded mozzarella cheese. Return the dish to the oven and bake for an additional 5-10 minutes, or until the cheese is melted and bubbly.
Notes
- To make the recipe even more flavorful, try adding some chopped onion or mushrooms to the filling mixture.
- If you like your stuffed peppers to have a little bit of crunch, only partially cook the bell peppers before stuffing them.
- To make the dish more substantial, you can add some cooked quinoa, couscous or bulgur wheat to the filling.
- To make the dish more creamy, you can add some ricotta cheese or cream cheese to the filling.
- To make the dish spicier, you can add some red pepper flakes or cayenne pepper to the filling.
- You can also add some chopped parsley or basil as a garnish before serving for a fresh and flavorful touch.
- Storing: You can store peppers in an airtight container in the refrigerator for up to 3 days.
- Freezing: To freeze the stuffed peppers, first let them cool completely. Then, place them in an airtight container or a resealable plastic bag. Make sure to squeeze out as much air as possible before sealing the bag. They can be frozen for up to 3 months.
- Reheating: To reheat frozen peppers, take them out of the freezer and thaw them in the refrigerator overnight. Preheat the oven to 350 ℉, then place the peppers in a baking dish and cover with foil. Bake for 25-30 minutes or until heated through.
Nutrition
All nutritional information is based on third-party calculations and should be considered estimates. Actual nutritional content will vary with brands used, measuring methods, portion sizes and more.


Kay
This stuffed pepper recipe looks amazing, i never knew how much goodness bell peppers had in them until I read this blog, brilliant info 🙂
Thanks for sharing I will try this out very soon !!
Pavani
That is such a colorful and inviting looking stuffed peppers. The filling sounds delicious. Perfect for a family meal.
Jacque Hastert
This dinner is hearty and healthy! It's perfect for lunch or dinner and will make an apperance on our table again very soon. Thank you!
veenaazmanov
Yummy filling and so colorful too. This is cheesy and the platter looks festive.
Cookilicious
Just looking at this ismaking me hungry! Love stuffed bell peppers!
Amy D
It has been way too long since we have had stuffed peppers here. I need to make my next batch with ground chicken. I always forget how easy it is to make things healthier with chicken.
Jenna
I'm a huge fan of these one pan type of meals. There's a version of Italian stuffed peps I've liked for a while, but when I made your version there were some tasty changes I loved.