
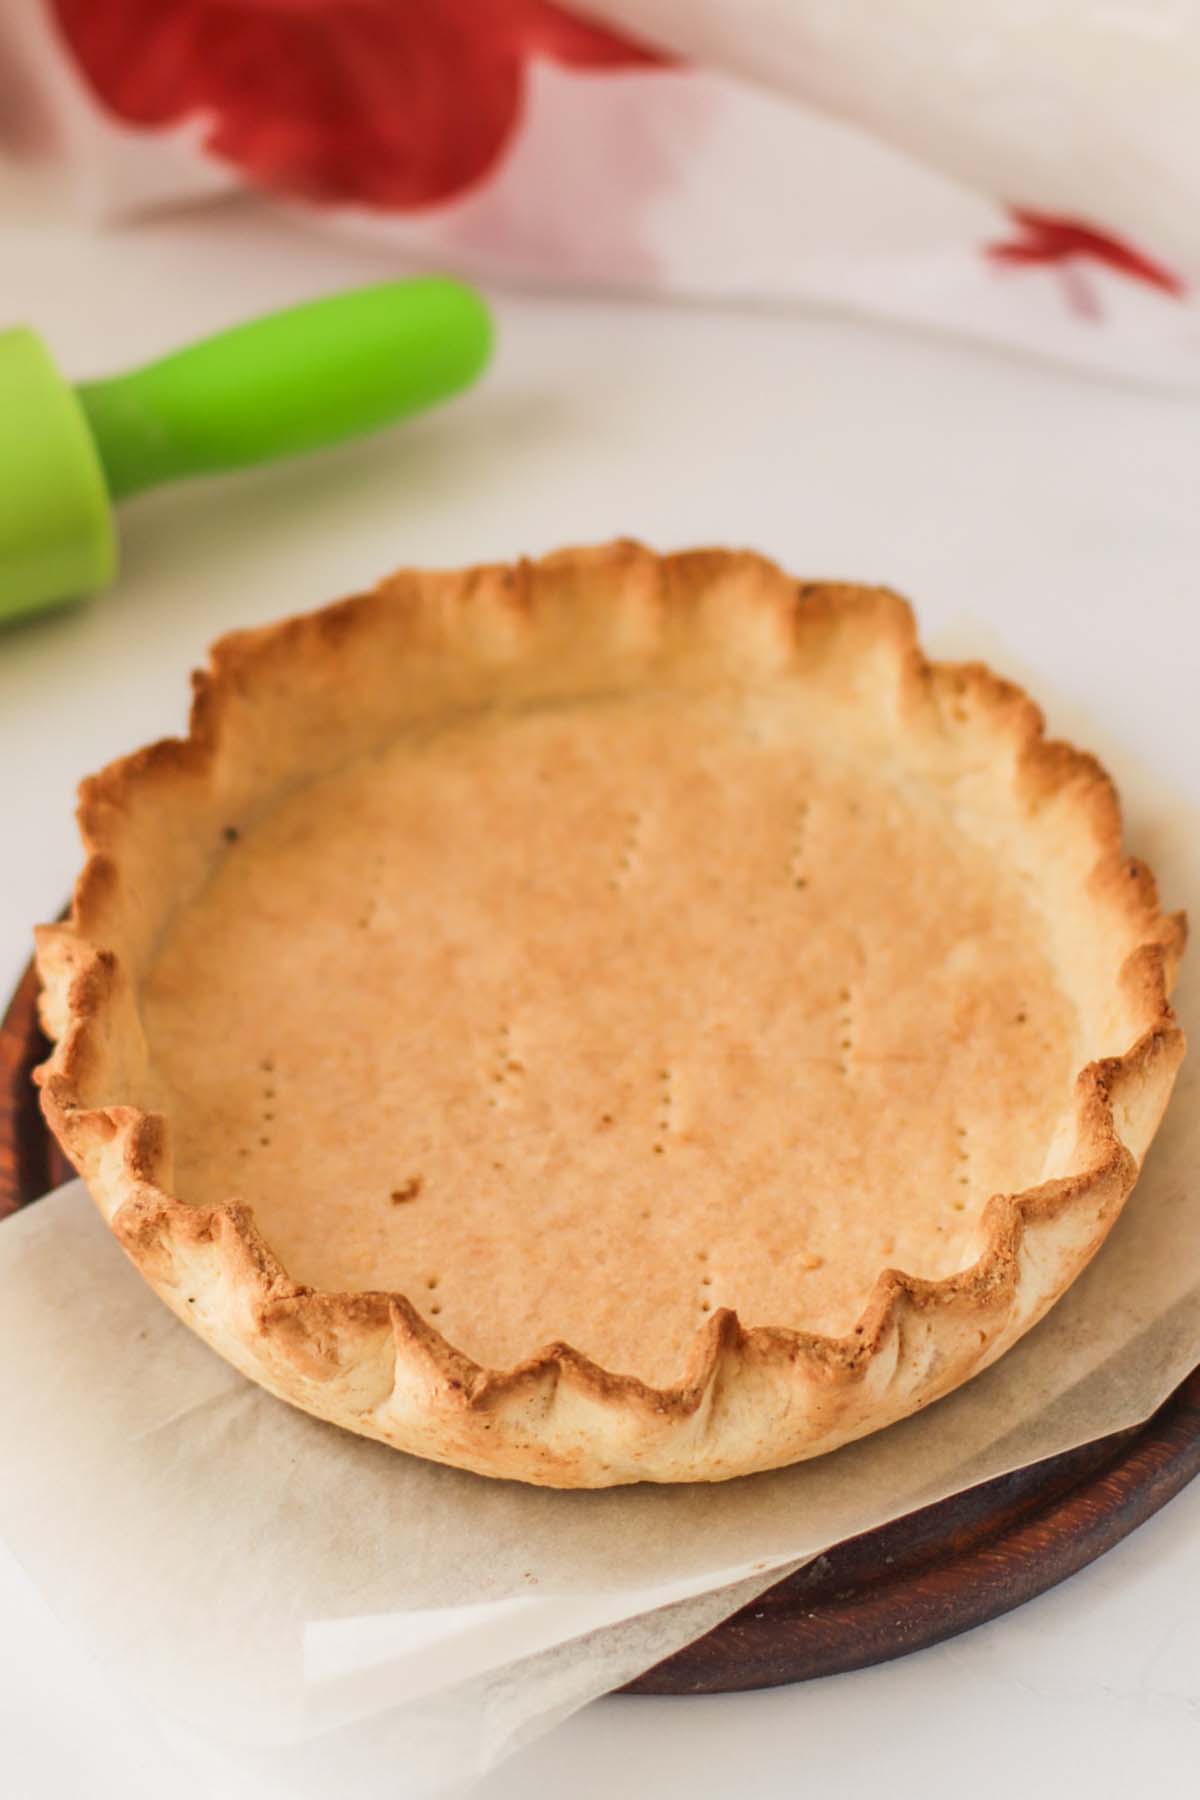
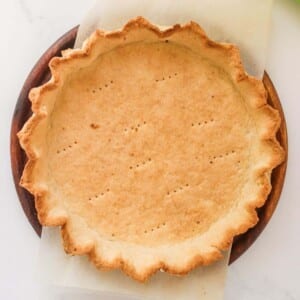
This Low Calorie Pie Crust is a nice addition to the fall months. The simple instructions will show you how to create a flaky and delicious pie crust that's perfect for both sweet and savory pies.
Jump to:
Check out my Low Calorie Pumpkin Chocolate Chip Cookies and my Low Calorie Pumpkin Bread for more low calorie recipes.
If you're looking for a way to enjoy your favorite pies without loading up on calories, this low calorie pie crust recipe is here to help!
This recipe swaps out traditional flours for an almond and coconut flour mixture.
Why You'll Love This Recipe
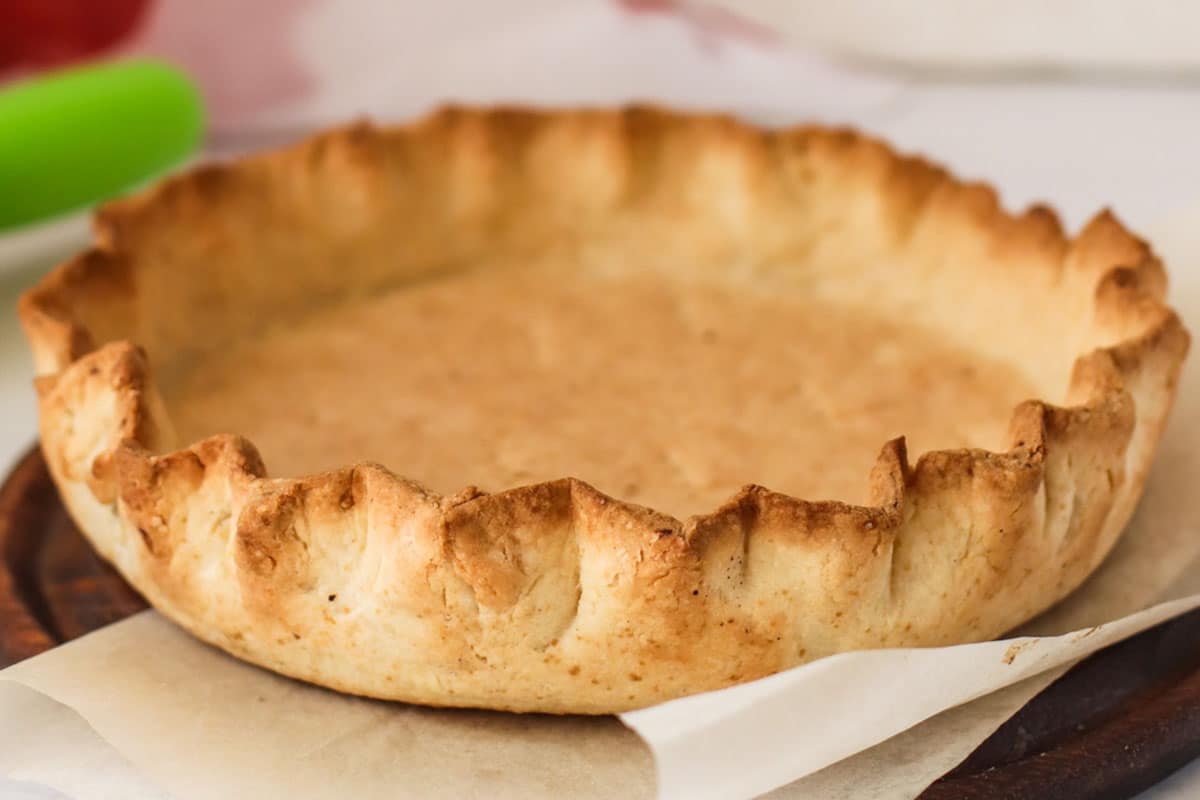
- This recipe rivals traditional pie crusts and will become one of your new favorite recipes. It's great as a bottom crust or top crust.
- It makes the perfect pie crust with simple ingredients found at any grocery store.
- The directions are super easy to follow and makes a delicious crust that is also gluten free.
Ingredients You'll Need
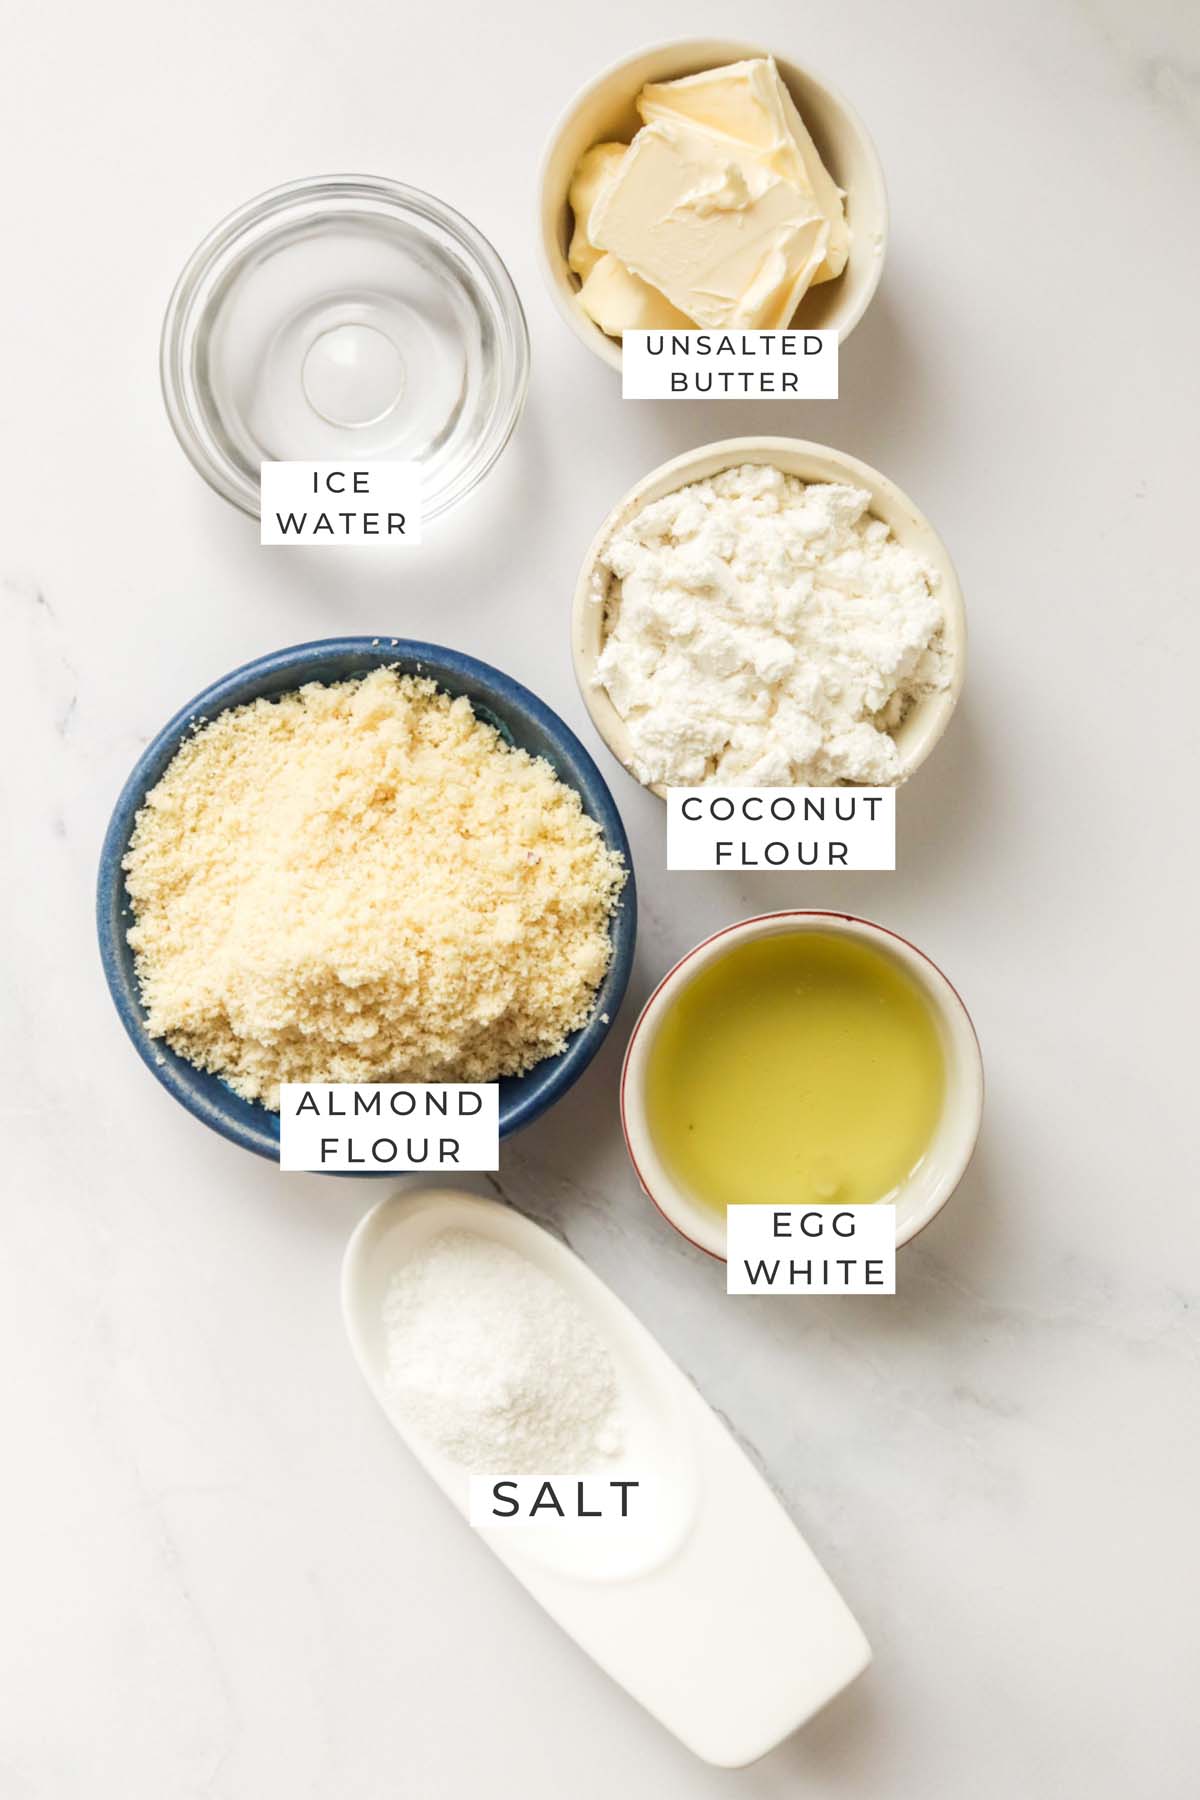
- Almond Flour: Brings a nutty unique flavor.
- Coconut Flour: Adds a hint of tropical flair and pairs well with almond flour's texture, making the crust tender yet firm.
- Unsalted Butter: Adds richness and helps achieve that classic pie crust flakiness.
- Egg White: This binding agent helps bring the dough together without adding unnecessary fat.
- Ice Water: The secret to the dough's consistency is cold water, which ensures it's not too dry or too sticky.
- Salt: Enhances the overall flavor of the crust.
Step-By-Step Instructions
Step 1: Preheat the oven to 350 °F.
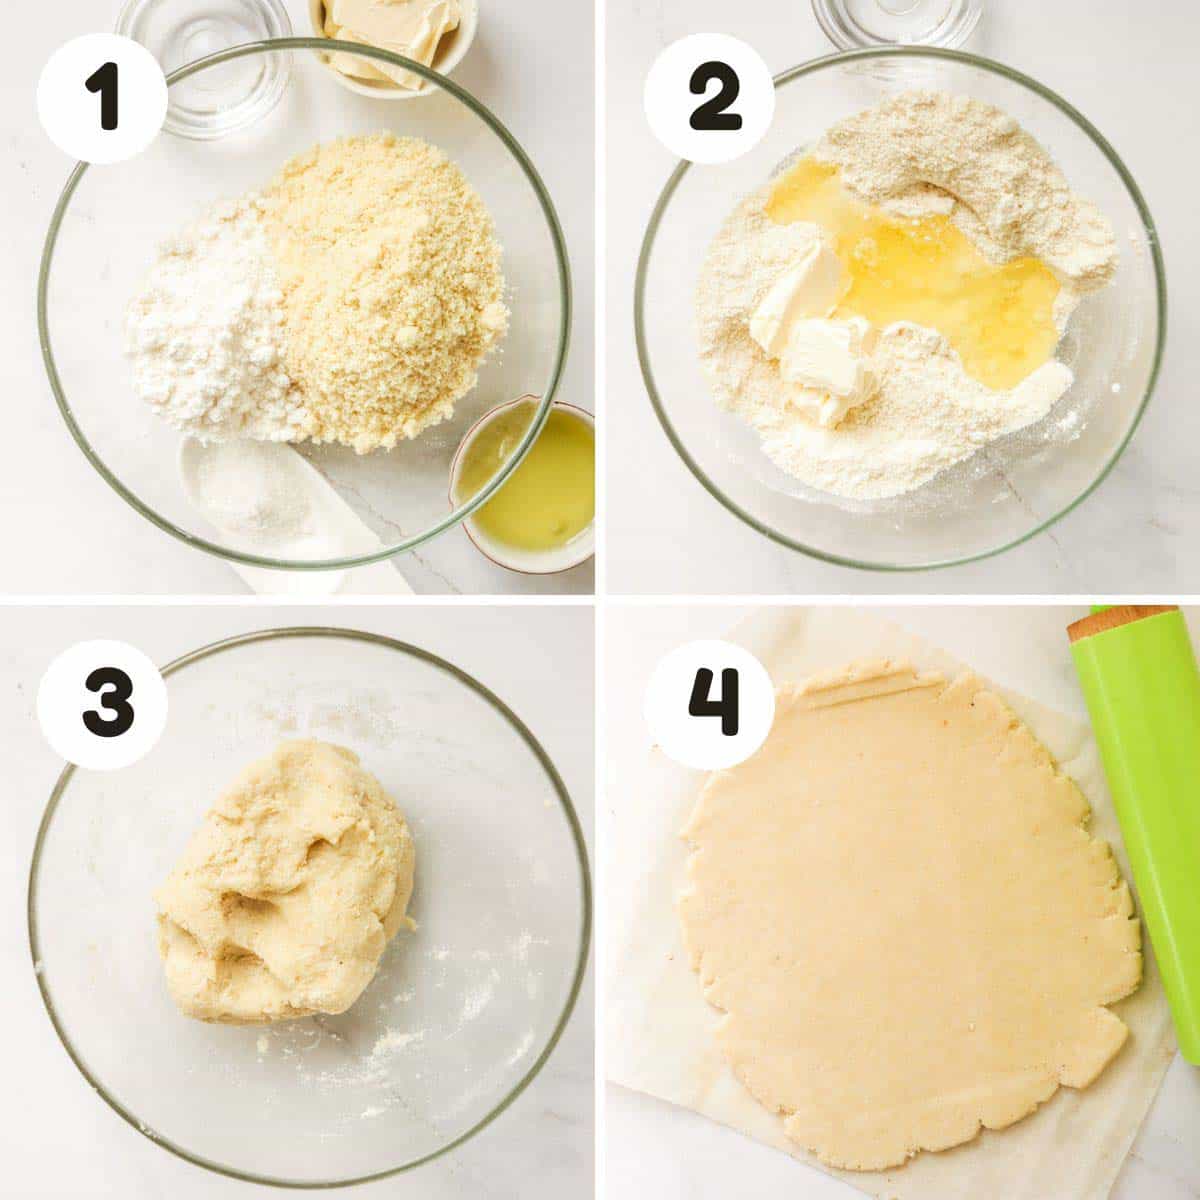
Step 2: In a large bowl, combine the almond flour, coconut flour, and salt. Mix well to evenly distribute the ingredients.
Step 3: Add the cold butter to the dry ingredients. Use a pastry cutter or your fingers to work the fat into the flour until the mixture resembles coarse crumbs.
Step 4: Add the egg white to the mixture and mix until the dough starts to come together.
Step 5: Gradually add the ice water, 1 tablespoon at a time, and mix gently until the dough forms a ball. Be careful not to overwork the dough.
Step 6: Flatten the ball of dough into a disc, wrap it in plastic wrap, and refrigerate for about 30 minutes. Chilling the dough will make it easier to handle.
Step 7: Place the chilled dough between two sheets of parchment paper. Using a rolling pin, roll it out into a circle of about ¼-inch thickness.
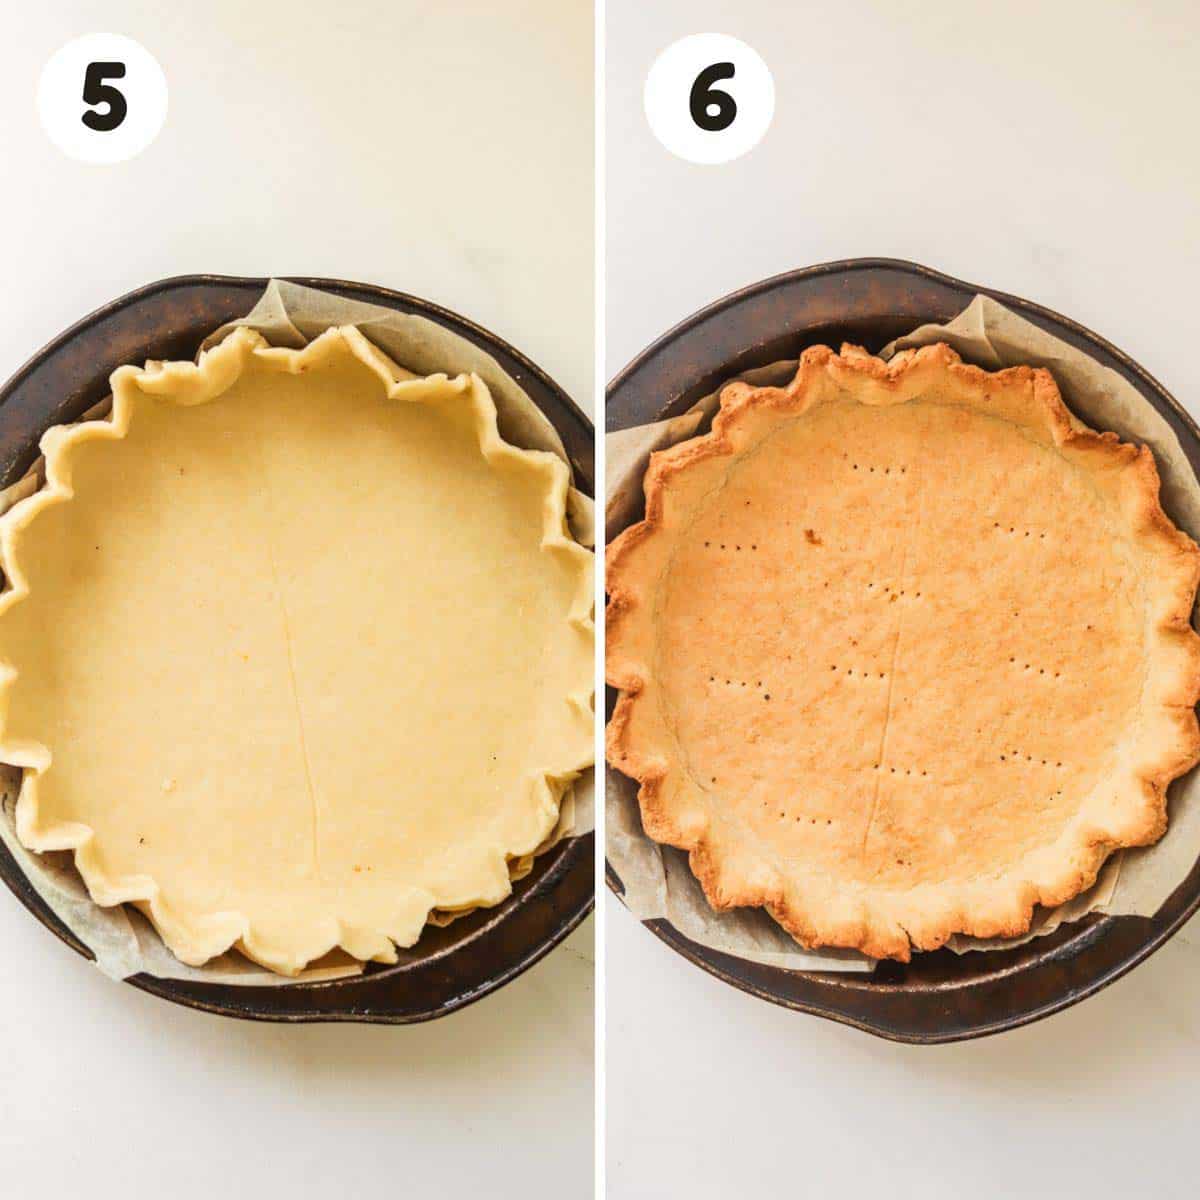
Step 8: Remove the top parchment paper and carefully flip the dough over onto a 9-inch pie pan. Gently press the pie dough into the pan and trim any excess hanging over the edges.
Step 9: Place a piece of parchment paper or aluminum foil over the crust and fill it with pie weights or dried beans to prevent it from puffing up during baking. Bake in the preheated oven for about 10-12 minutes.
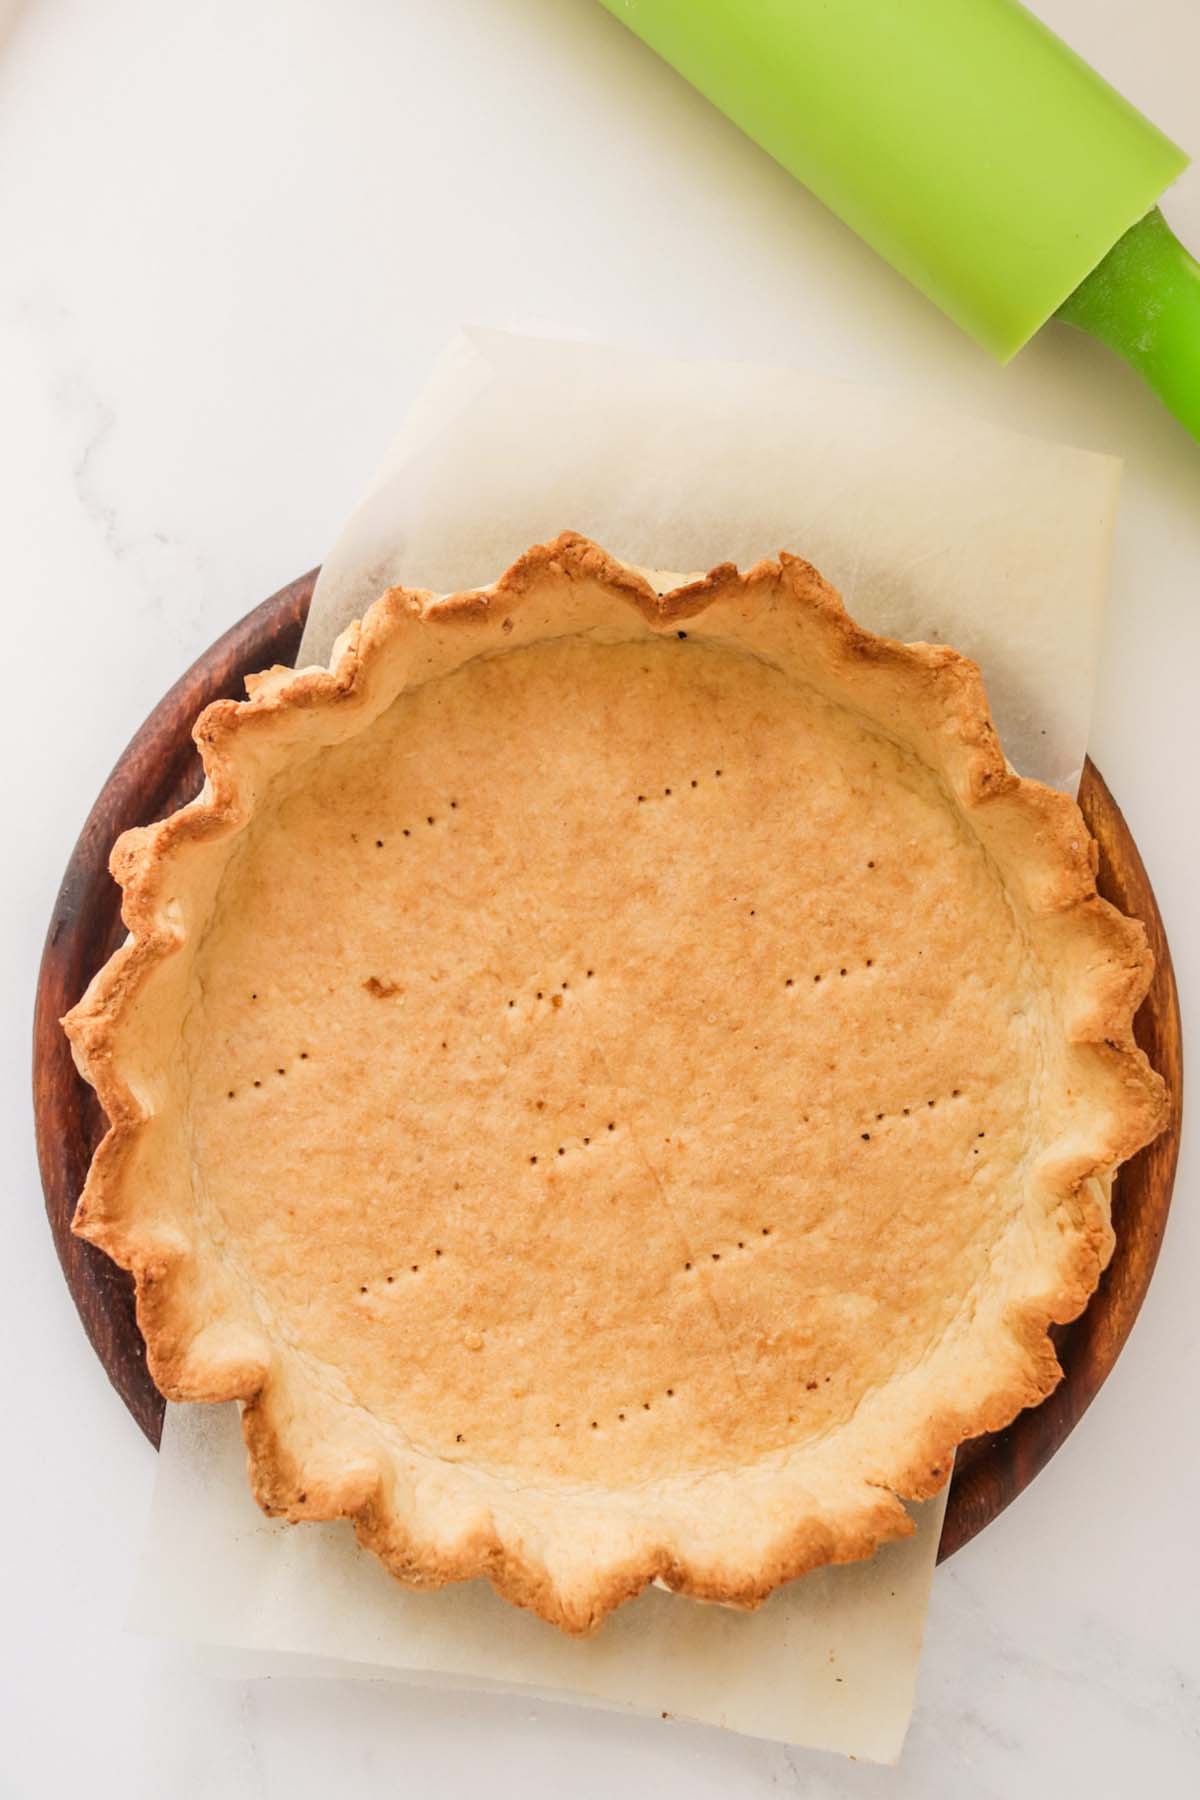
Step 10: Remove the parchment paper and weights, and bake the crust for an additional 5-7 minutes, or until it's lightly golden. Keep an eye on it to prevent over-browning.
Step 11: After the crust bakes, allow it to cool completely.
NOTE: You can print the FULL recipe with all ingredients & detailed instructions below!
Expert Tips
- Be sure your butter, egg white, and ice water are all very cold. Cold ingredients help create a flaky pie crust.
- Let the dough chill for at least 30 minutes. This helps make it easier to roll out.
- Rolling the dough between parchment paper sheets minimizes sticking and makes transferring it to the pie pan a breeze.
Variations
- Nut-Free: If you have nut allergies, try using oat flour or a gluten-free flour blend as a substitute for almond flour.
- Spiced: For sweet pies, add spices like cinnamon, nutmeg, or cardamom to the dry ingredients to infuse the crust with extra flavor without the need for sugar.
- Whole Wheat: If you prefer a heartier crust, you can substitute some or all of the almond and coconut flours with whole wheat pastry flour.
Storing & Freezing
Storing: Wrap the pie crust in plastic wrap and store it in the fridge for 1-2 days.
Freezing: For longer storage, wrap the pie crust in plastic wrap or aluminum foil. Store the wrapped pie crust in the freezer for up to 2-3 months.
Thawing: The best way to thaw the crust is by placing it in the refrigerator overnight, or for several hours, until it's completely thawed.
How To Use The Crust
Follow the instructions in the original recipe to make and bake the pie crust until it's lightly golden and fully cooked. Make sure it's cooled before proceeding.
Sweet Pies: For sweet pies, you can make your favorite like pecan pie, pumpkin pie, cherry pie or a homemade apple pie.
Savory Pies: For savory pies, you can make quiche recipes or chicken pot pie recipes.
Pour or spoon your chosen filling into the cooled pie crust. Spread it evenly to fill the crust without overflowing. Follow the baking instructions for your specific pie or tart recipe.
After baking, allow your pie or tart to cool in the pie dish to room temperature before slicing and serving. This helps the filling set and makes for neater slices.
Recipe FAQ's
Yes, you can prepare the crust ahead of time. Store it in the refrigerator for a day or freeze it for longer storage. Thaw it in the refrigerator when you're ready to use it.
Yes, you can use this recipe to make mini pie crusts or tart shells. Divide the dough into smaller portions and adjust the baking time accordingly. It's a good idea to keep an eye on them as they bake since they will cook faster than a full-size pie crust.
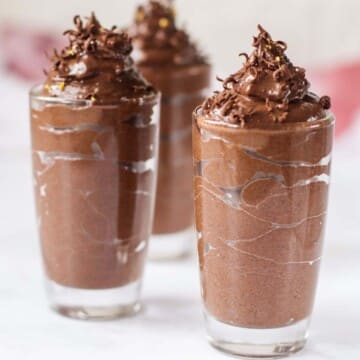
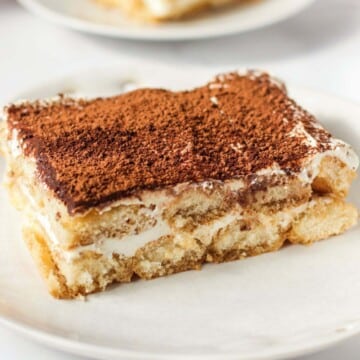
More Dessert Recipes You'll Love


Low Calorie Pie Crust
Special Equipment
Ingredients
- 1 cup almond flour
- 2 tablespoons coconut flour
- ¼ teaspoon salt
- 2 tablespoons cold unsalted butter, cubed
- 1 egg white
- 2-3 tablespoons ice water
Instructions
- Preheat the oven to 350°F.
- In a large bowl, combine the almond flour, coconut flour, and salt. Mix well to evenly distribute the ingredients.
- Add the cold butter to the dry ingredients. Use a pastry cutter or your fingers to work the fat into the flour until the mixture resembles coarse crumbs.
- Add the egg white to the mixture and mix until the dough starts to come together.
- Gradually add the ice water, 1 tablespoon at a time, and mix gently until the dough forms a ball. Be careful not to overwork the dough.
- Flatten the ball of dough into a disc, wrap it in plastic wrap, and refrigerate for about 30 minutes. Chilling the dough will make it easier to handle.
- Place the chilled dough between two sheets of parchment paper. Using a rolling pin, roll it out into a circle of about ¼-inch thickness.
- Remove the top parchment paper and carefully flip the dough over onto a 9-inch pie pan. Gently press the pie dough into the pan and trim any excess hanging over the edges.
- Place a piece of parchment paper or aluminum foil over the crust and fill it with pie weights or dried beans to prevent it from puffing up during baking. Bake in the preheated oven for about 10-12 minutes.
- Remove the parchment paper and weights, and bake the crust for an additional 5-7 minutes, or until it's lightly golden. Keep an eye on it to prevent over-browning.
- After the crust bakes, allow it to cool completely.
Notes
- Be sure your butter, egg white, and ice water are all very cold. Cold ingredients help create a flaky pie crust.
- Let the dough chill for at least 30 minutes. This helps make it easier to roll out.
- Rolling the dough between parchment paper sheets minimizes sticking and makes transferring it to the pie pan a breeze.
- Storing: Wrap the pie crust in plastic wrap and store it in the fridge for 1-2 days.
- Freezing: For longer storage, wrap the pie crust in plastic wrap or aluminum foil. Store the wrapped pie crust in the freezer for up to 2-3 months.
- Thawing: The best way to thaw the crust is by placing it in the refrigerator overnight. or for several hours, until it's completely thawed.
Nutrition
All nutritional information is based on third-party calculations and should be considered estimates. Actual nutritional content will vary with brands used, measuring methods, portion sizes and more.

Comments
No Comments